The Volcamp Table - Making-of!
⚠️ This article is an automated translation. While I personally reviewed the content before publication, some inaccuracies may remain. Read the original French version.
Train enthusiasts and Volcamp (and elsewhere) curious people, welcome to this making-of the table presented during my conference on October 2nd!
Unfortunately, it was impossible for me to talk to you longer about the table itself during the conference, so this blog post is here for that: to let you discover all the stages of design of the table and the decorations. Be careful, there are many images!
Day 1 - Kick-off!
During the first day of construction, we set out to find an element allowing us to lay our rails. For this, we had to find a flat, rigid and light surface. Our choice fell on a plywood board that was lying around.
We then took rails that we had at our disposal, and tried to make the smallest circle possible, without damaging the rails. Particular attention must be paid to the contact of the rails between them: if the circle formed by the outer rail is spaced because of a too large angle, the current no longer passes and the locomotive stops. It is therefore a balance to be found between a steep angle that allows using a very small footprint, and a wide angle that ensures good electrical contact along the rail.
In the end, we came out with a 70*70cm board; by being very lax on the safety of the miniatures which brush against the void permanently! A situation we accept for conferences (where the locos will run at very low speed and under constant supervision, AND with locomotives in average condition), but which would not be for a daily play table.
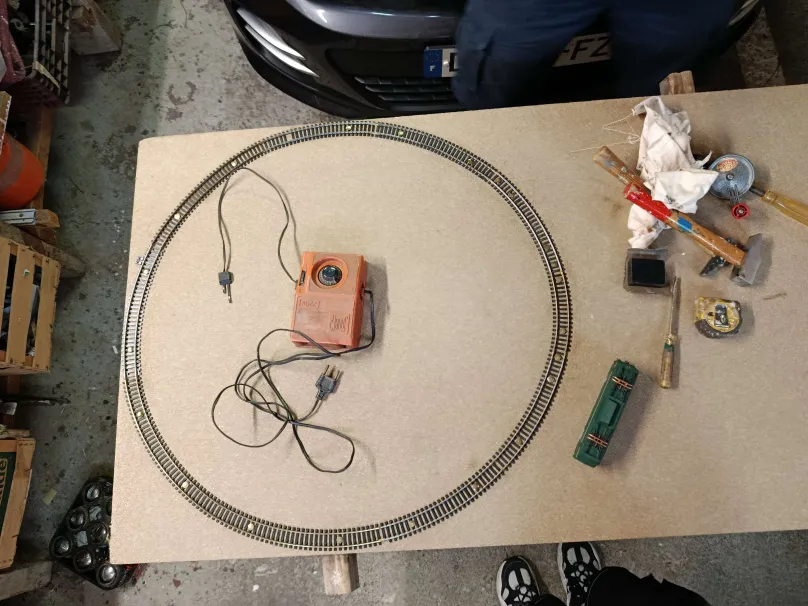
Furthermore, the rail angle is already very tight: the largest locomotives (like the CC40108), and locomotives with wagons (like the TGV HJ2412) do not pass and derail systematically.
Then, we cut the board to remove the excess.
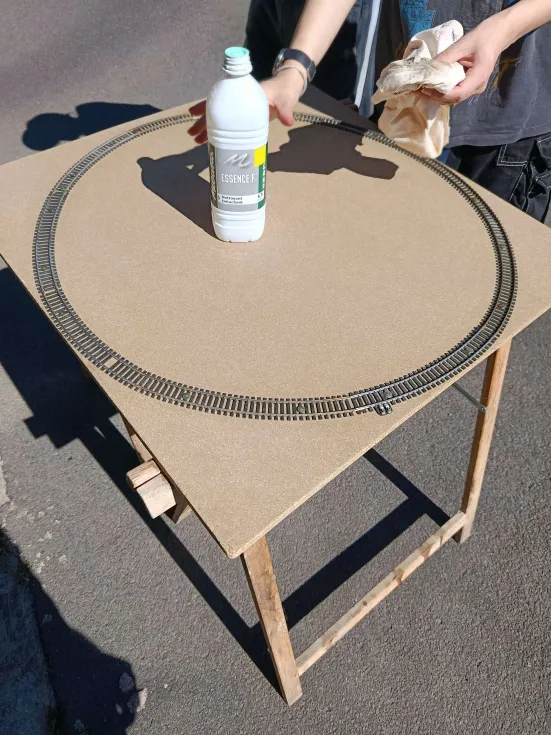
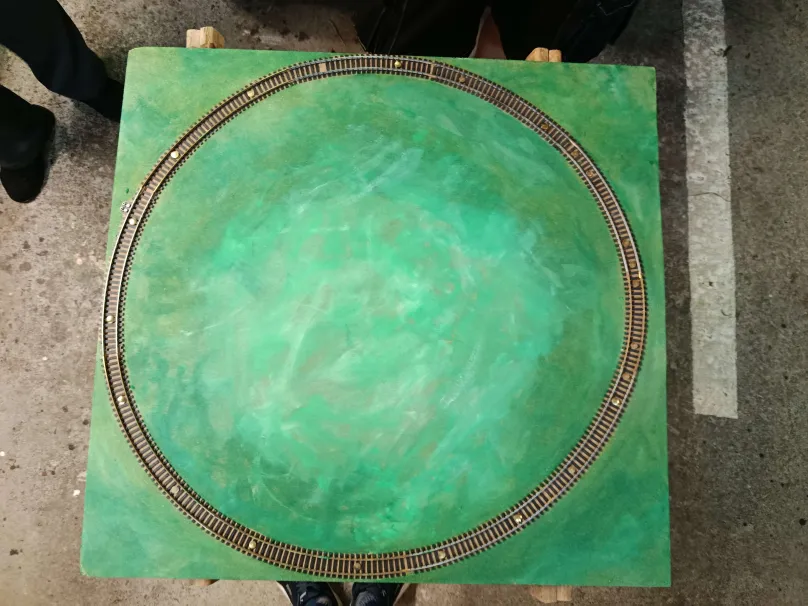
Finally, we set out to paint the board: plywood is a material that absorbs paint a lot; so a second coat is often required. We therefore took the lead by doing the first pass on day 1. It should be noted that this platform will later be flocked, which will make the paint less visible.
Day 2 - What if we made a volcano?
The second day of the adventure, we said to ourselves that a Volcamp table without a volcano is like a Marseillaise in minor played by a self-taught flutist. So here we go, let’s make a volcano!
For today’s activity, the prerequisites will be:
- Old shoe boxes (to give the initial shape);
- Fine mesh like mosquito netting;
- Hand plaster.
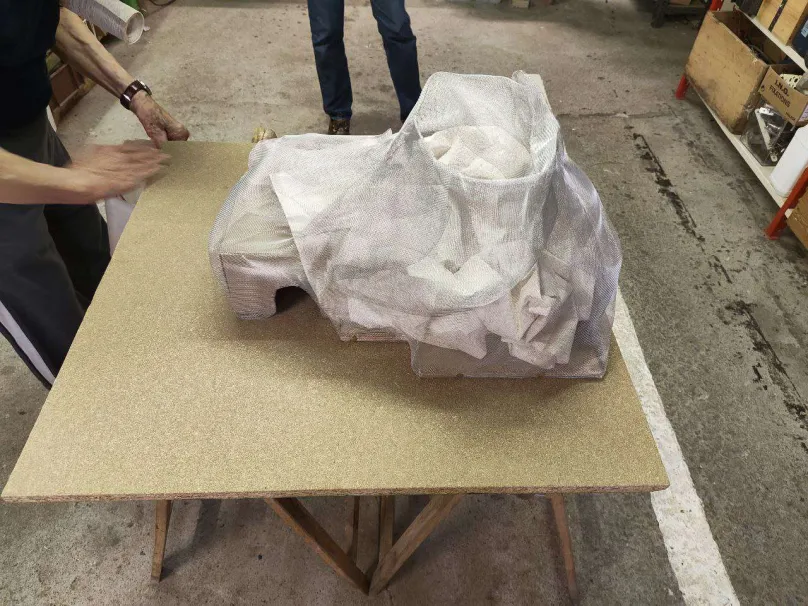
We start by making holes in our shoe box to make a tunnel to let our trains pass.
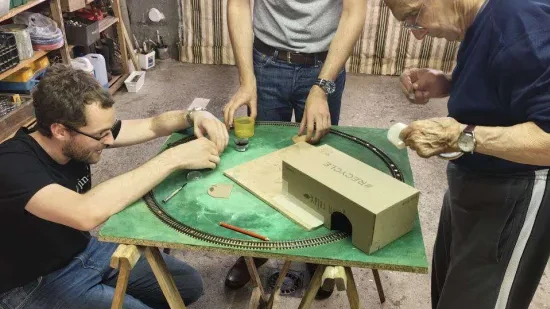
This step actually requires quite a few checks and changes: as the train is wider than the rail on which it circulates, the rotation angle must be taken into account. For this, nothing simpler: we power the rail and circulate our conference locomotive at walking pace.
Then, we take our mesh and give it the shape wanted for the final structure: the mesh makes an excellent skeleton that can be adapted to our needs; and the fine mesh will then allow the plaster to stick easily. We could have used polystyrene but I HATE this material (just writing the word gives me chills down my spine).
Now all that’s left is to make our plaster, which we’ll apply with a brush (and a bit by hand…) on the structure to give it a texture and a real skeleton.
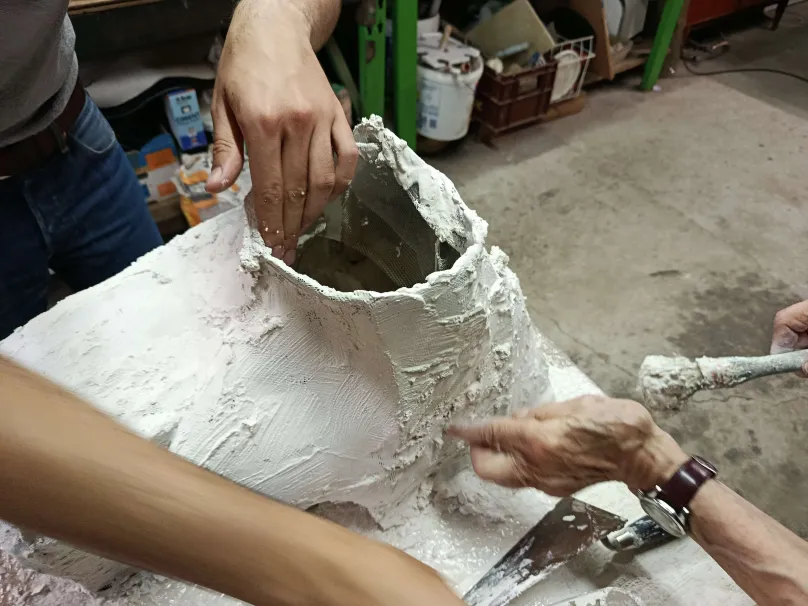
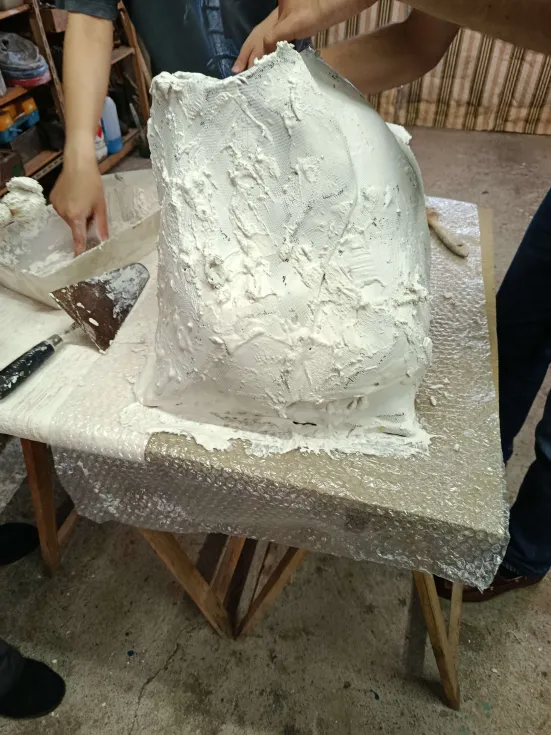
All that’s left is to let it all rest so the plaster can dry…
Day 3 - Painting (the return) & flocking.
The third day is under the sign of painting and flocking! Our volcano being completely dry, it is now time to give it a nice texture and reliefs. For this, we are going to use brown, green and black paint to perform gradients.
The small stones are made from cork stoppers, previously painted twice in black paint.
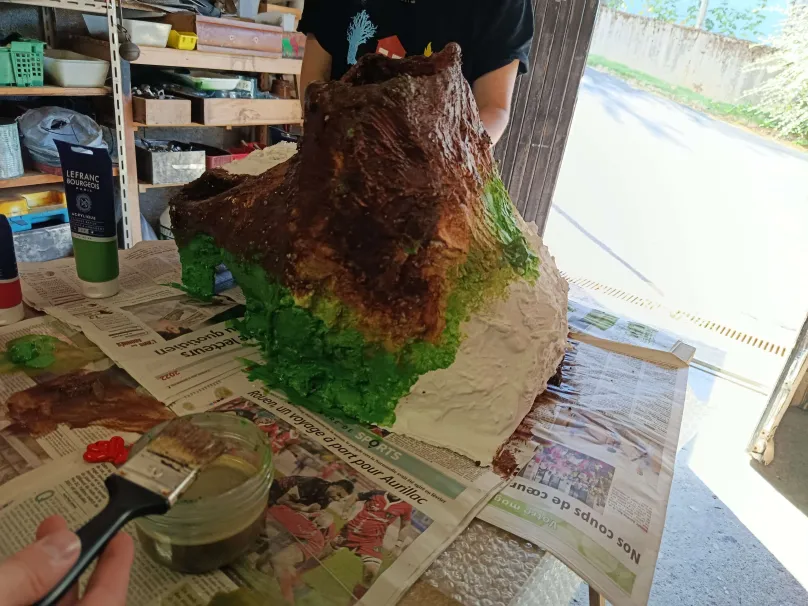
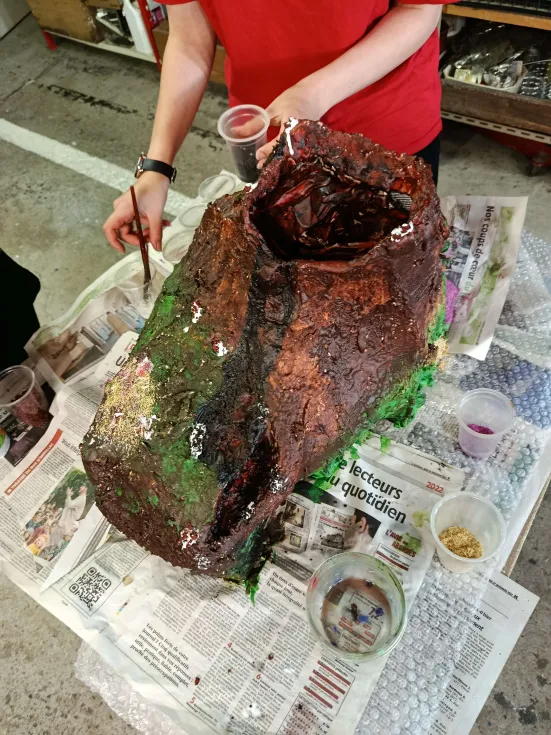
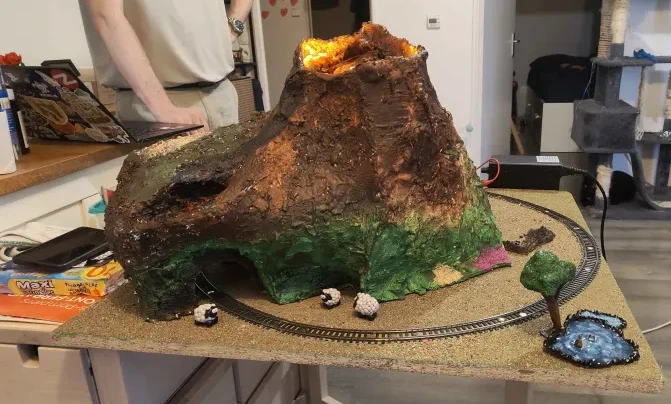
Our Mount Volcamp is ready!
Day 4 - Polymer clay decorations
Finally, we made some decorations in polymer clay to populate our table: a tree, lakes, an old destroyed mountain hut…
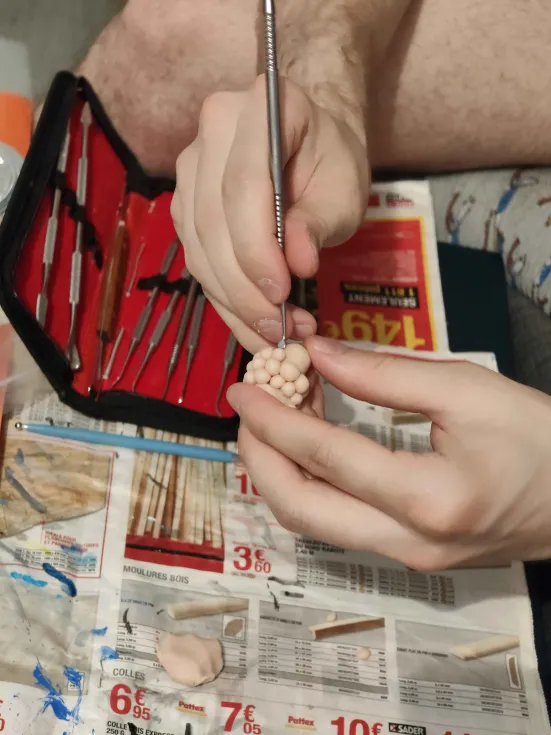
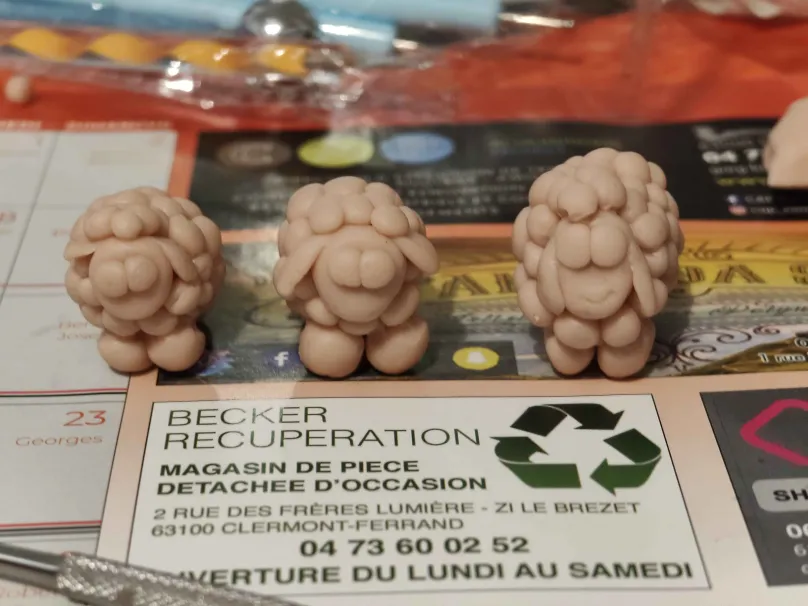
Polymer clay has the advantage of being very malleable by hand, and staying in place with a simple baking in the oven.
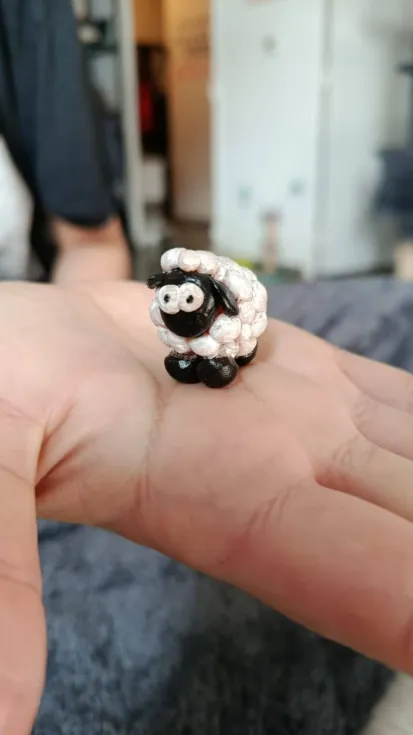
Once baked, just paint them with acrylic paint.
Result
And here is our play table ready to be presented! Of course, this table has huge design flaws, the first being its size: The rails (and trains) are absolutely not designed to have such a strong steering angle. On a more viable table, we would have used much less sharp curves, to relieve the mechanics and obtain better electrical contacts.
Acknowledgments
For this table, I was not alone! Thanks a lot to André, Annie, Justine, Théo, and Fantine for having spent a few hours with me during these days of realization. <3